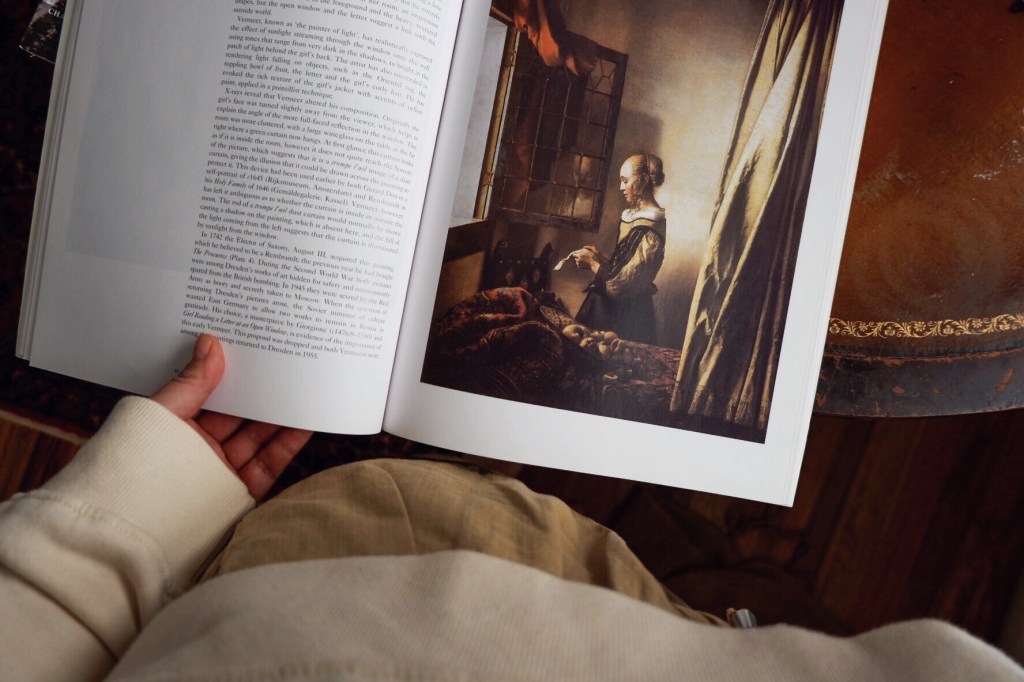
Picture Studies are apart of our Morning Time routine and they can take anywhere from 10-15 minutes. You can find Miss Mason’s steps for a “Picture-Talk” in her Home Education volume on pages 310-311, but I will lay out the steps here for you as well.
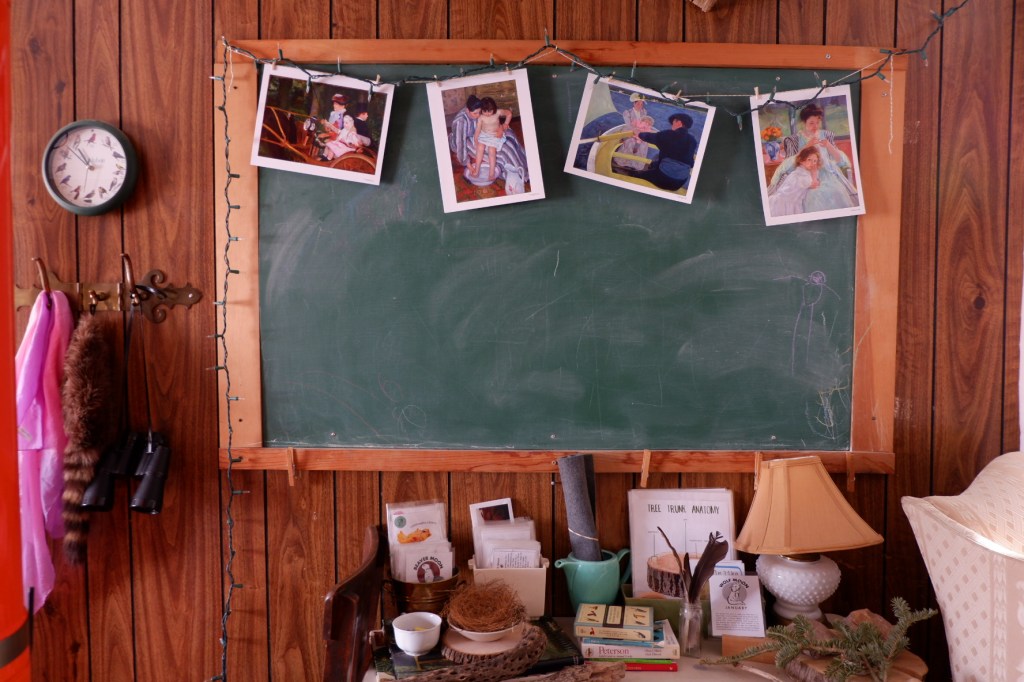
In addition to a formal picture study during lessons, we like to hang quality art prints up in our schoolroom. This is just above our nature table. Even the two year old can feast her eyes on Mary Cassatt’s work whenever she wanders in 🙂
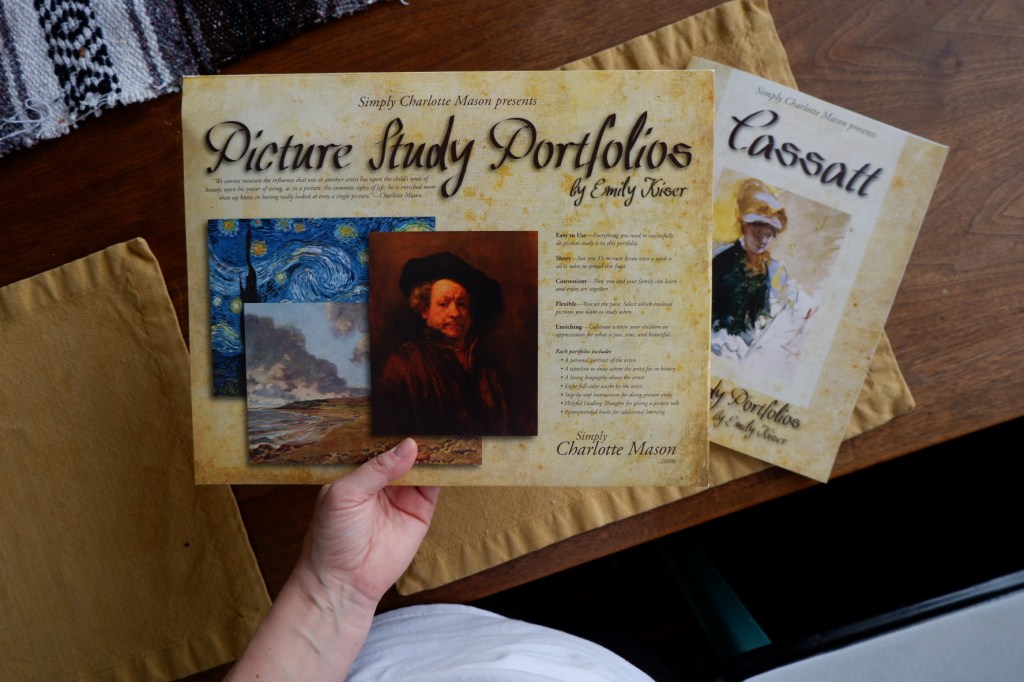
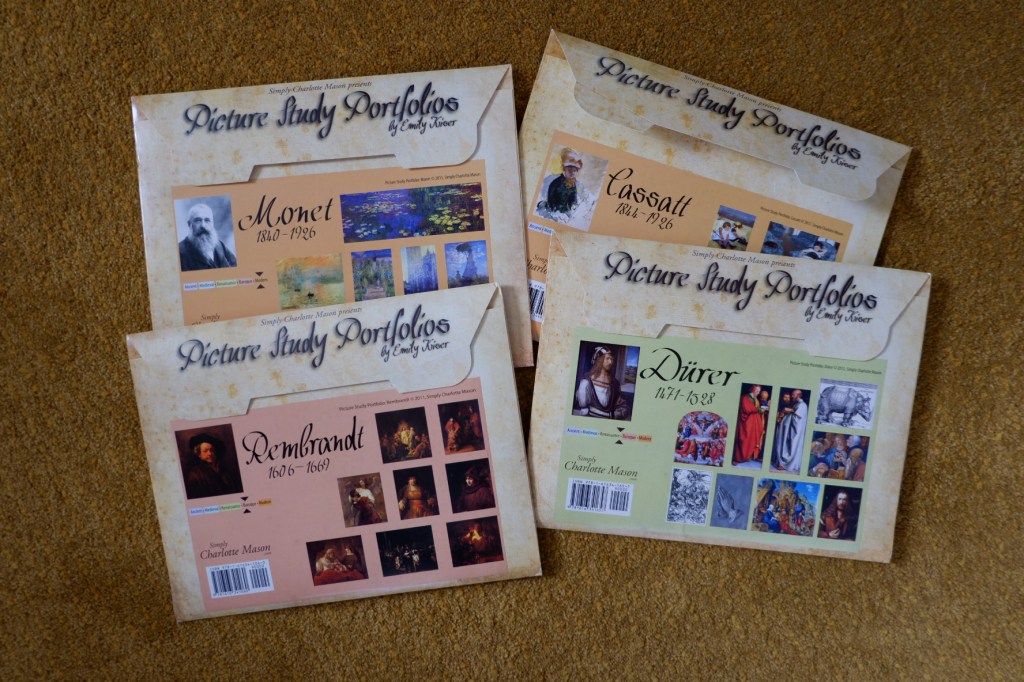
I would highly recommend these Picture Study Portfolios from Simply Charlotte Mason. Each portfolio includes a personal portrait of the artist, a timeline to show where the artist fits in history, a living biography about the artist, eight full-color works, step-by-step instructions for doing a picture study (which I will share here), helpful leading thoughts for giving a picture talk, and recommended books for additional learning! Wow, right?
My husband and I have done a picture study together after bedtime using these steps and really enjoyed it. Here are the steps:
1.) Read the story.
At the start of term, read the story of the artist keeping lessons short (15-20 min max) and have your student narrate the reading back to you, either orally or in written form given their ability.
2.) Select a picture.
Select one picture to study per lesson. Charlotte Mason recommended six different pictures allowing the student to become familiar with the style of the artist. Simply choose one that appeals to you or your student. Spread the works out over the term and then allow the students quiet time over the remaining weeks to look over the pictures at their leisure.
3.) Doing the picture study
~ Ask the children to tell you about the picture you looked at last time. If this is the first picture study of the term, as them to tell you about the artist’s life, where he was from, or something else they remember about the artist.
~ Before the look at the picture, you may want to tell them how large the actual painting is and maybe compare it something they might be familiar with. Do not tell them the name of the piece yet.
~ have the children look at the picture silently for 3-5 minutes (I use a little 5 minute sand timer and I grab another cup of coffee during this time 😉 Have them look closely at all the details in the painting until they see it in their mind’s eye. Have them check to make sure they can see the whole picture with their eyes closed. (similar to the way they do their weekly dictation)
~ next, have the student narrate the picture, telling as much as they can about the painting. If you have multiple children, have the first child narrate a little, then ask the second to add to the siblings’s narration and so forth. Older students may do a drawing of the piece if they are able.
4.) Having the “Picture-Talk”
Now you may tell the children the title of the work. What do they think of the picture? Do they like it? How does it make them feel? Can they tell what time of day it is? This is NOT a time to quiz on what they have missed, it is a time for them to engage and THINK about the picture further. Asking questions about what they think will not bore them, but quizzing absolutely does! You may want to add any back story to the picture if there is one but only if there is time. Remember, keep the lesson short!
5.) Display the picture
Lastly, display the picture of the week somewhere in your home! Simple! We keep our “school” pictures on the school bookshelf, and any other ones that I am personally into hung up above the nature table but that’s just us!

BONUS: We use A Gentle Feast curriculum. A fully Charlotte Mason curriculum for grades 1-12 and it’s basically a dream. In the Teachers Manual you’ll find explanation on EVERYTHING, including how to do a picture study or composer study as one of the Beauty Loop subjects. Definitely explore this curriculum (link on homepage) if you’re looking for a CM guide that is completely planned out and laid out for you.
Hope this was helpful! Happy Picture Talking!
